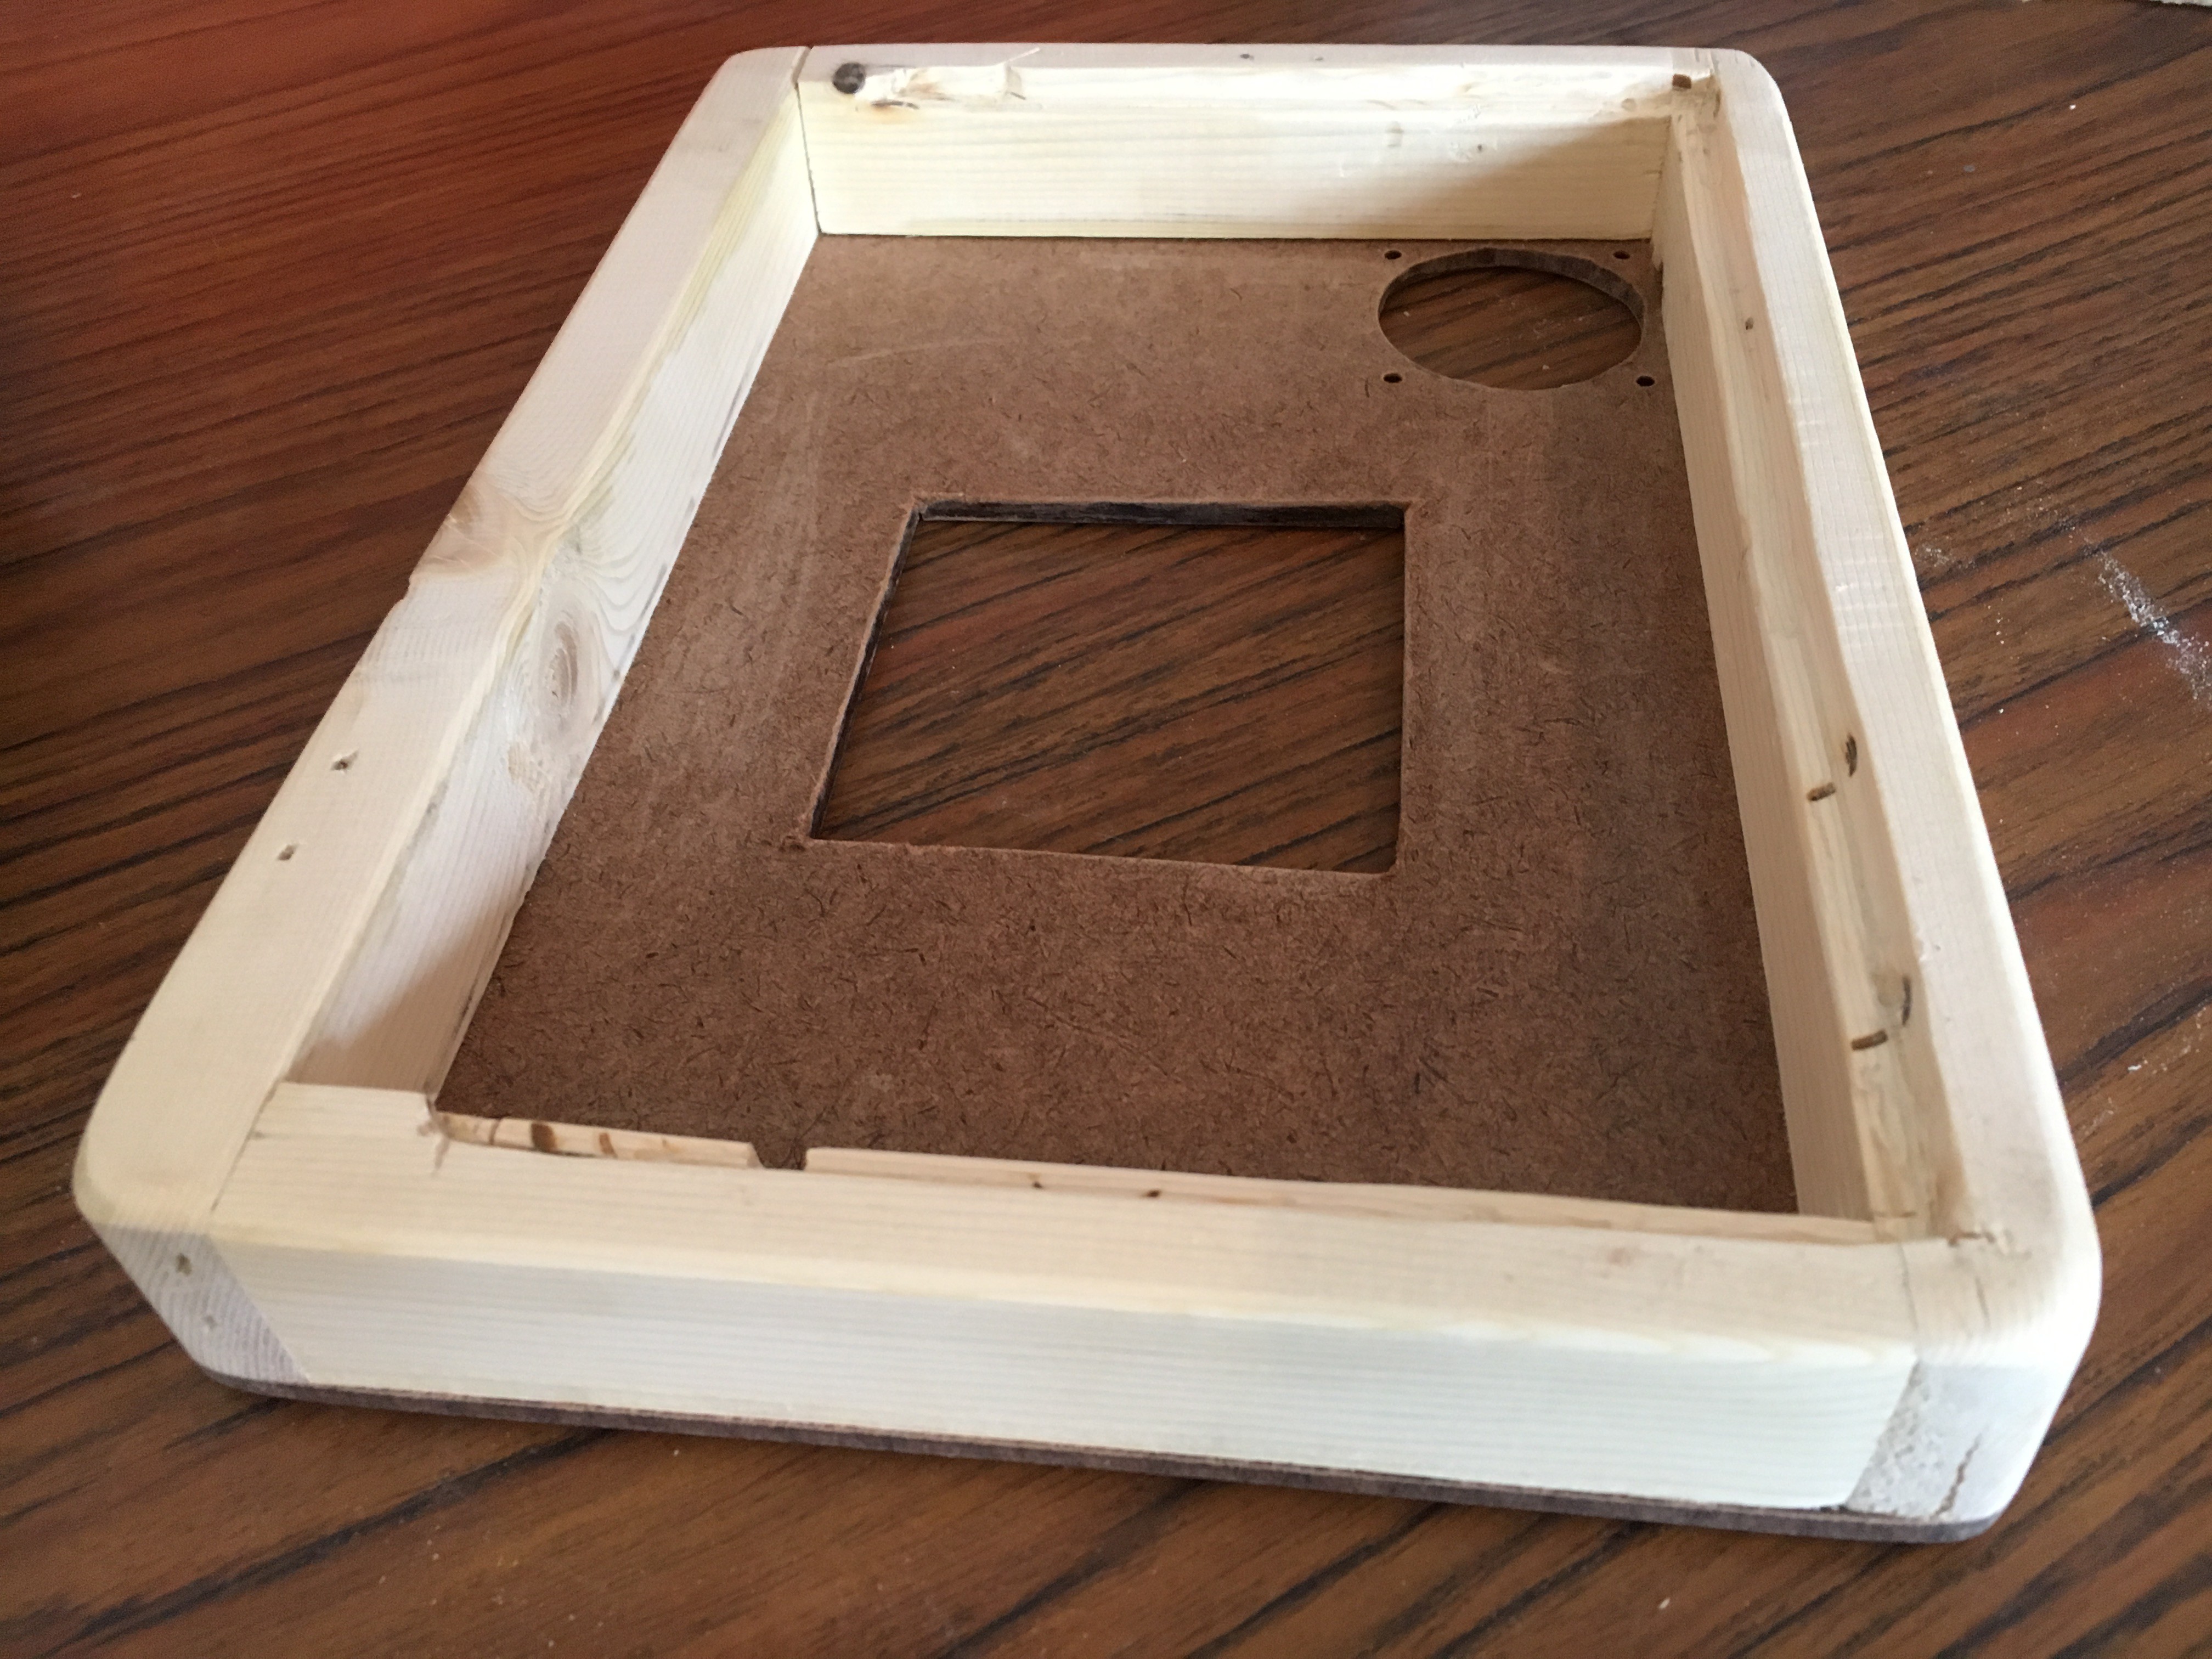
I started by shopping a case out of wood, sanding some of the rougher edges into rounded sides, and carving in an indent to mount the screen. Ended up using those little picture frame clasps to secure the screen.
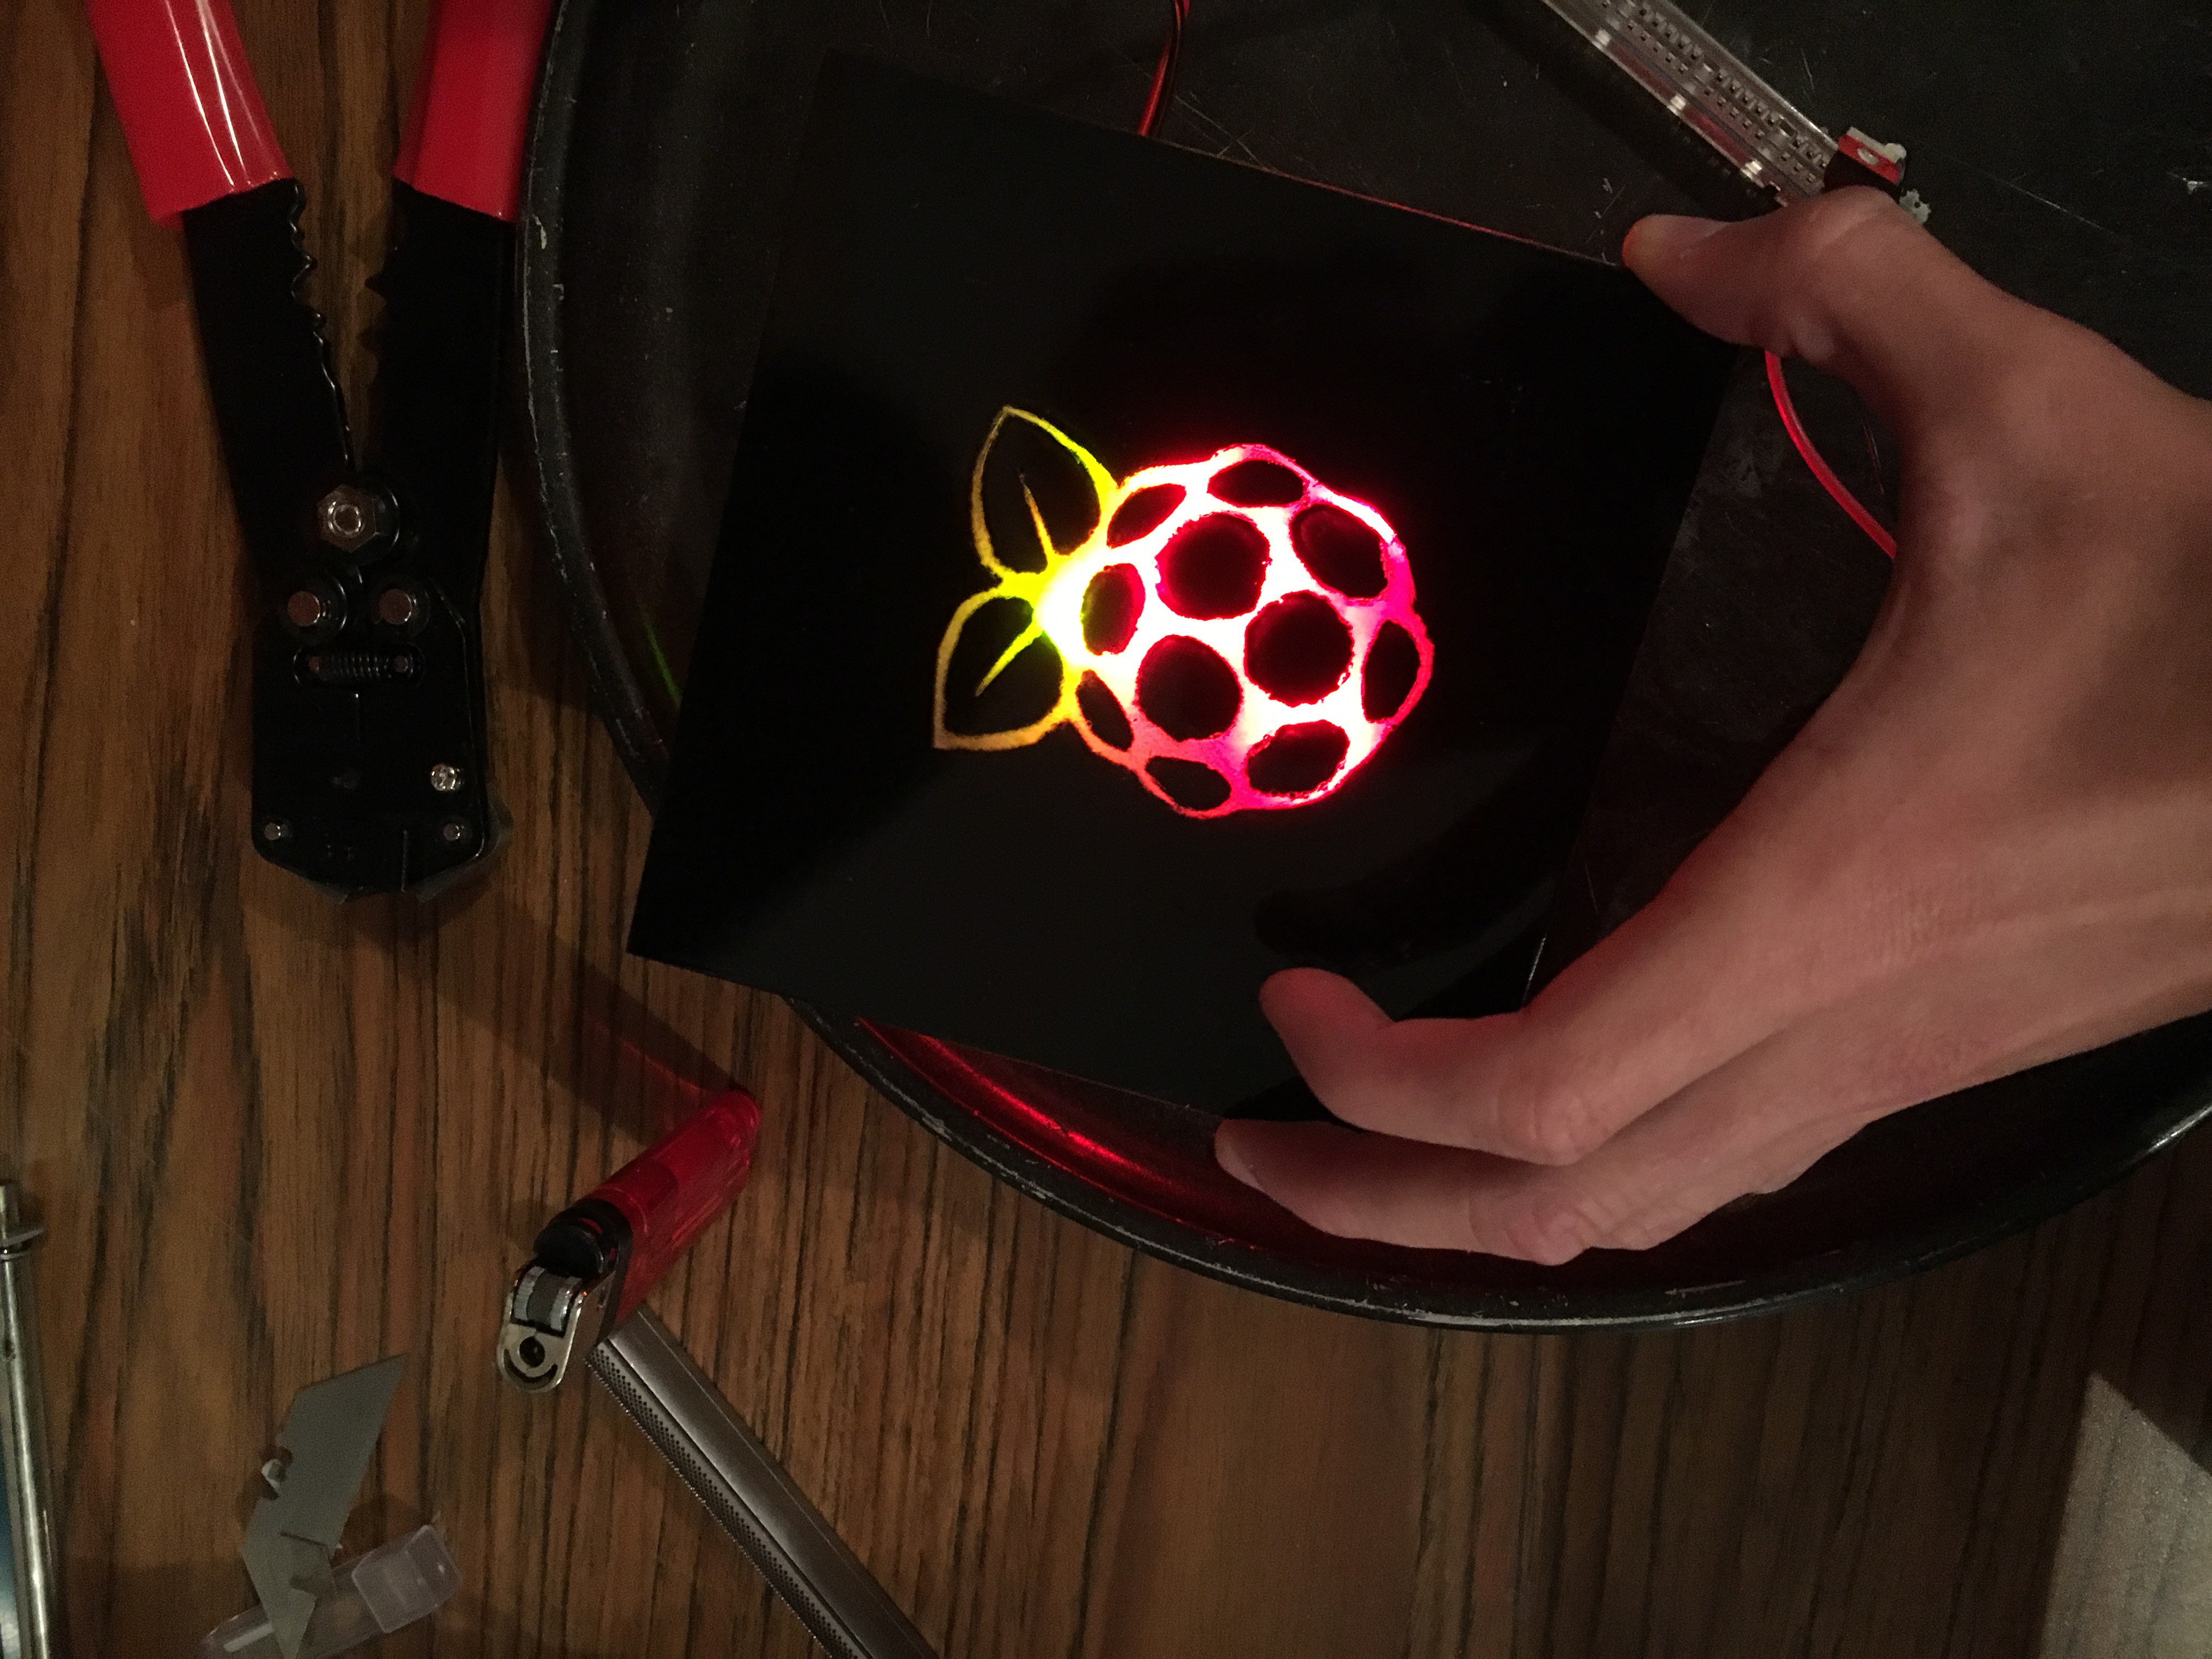
From there I spray painted the body and cut out a stencil for some sticker paper and sprayed down a piece of plexiglass that I sanded with fine sand paper for diffusion.
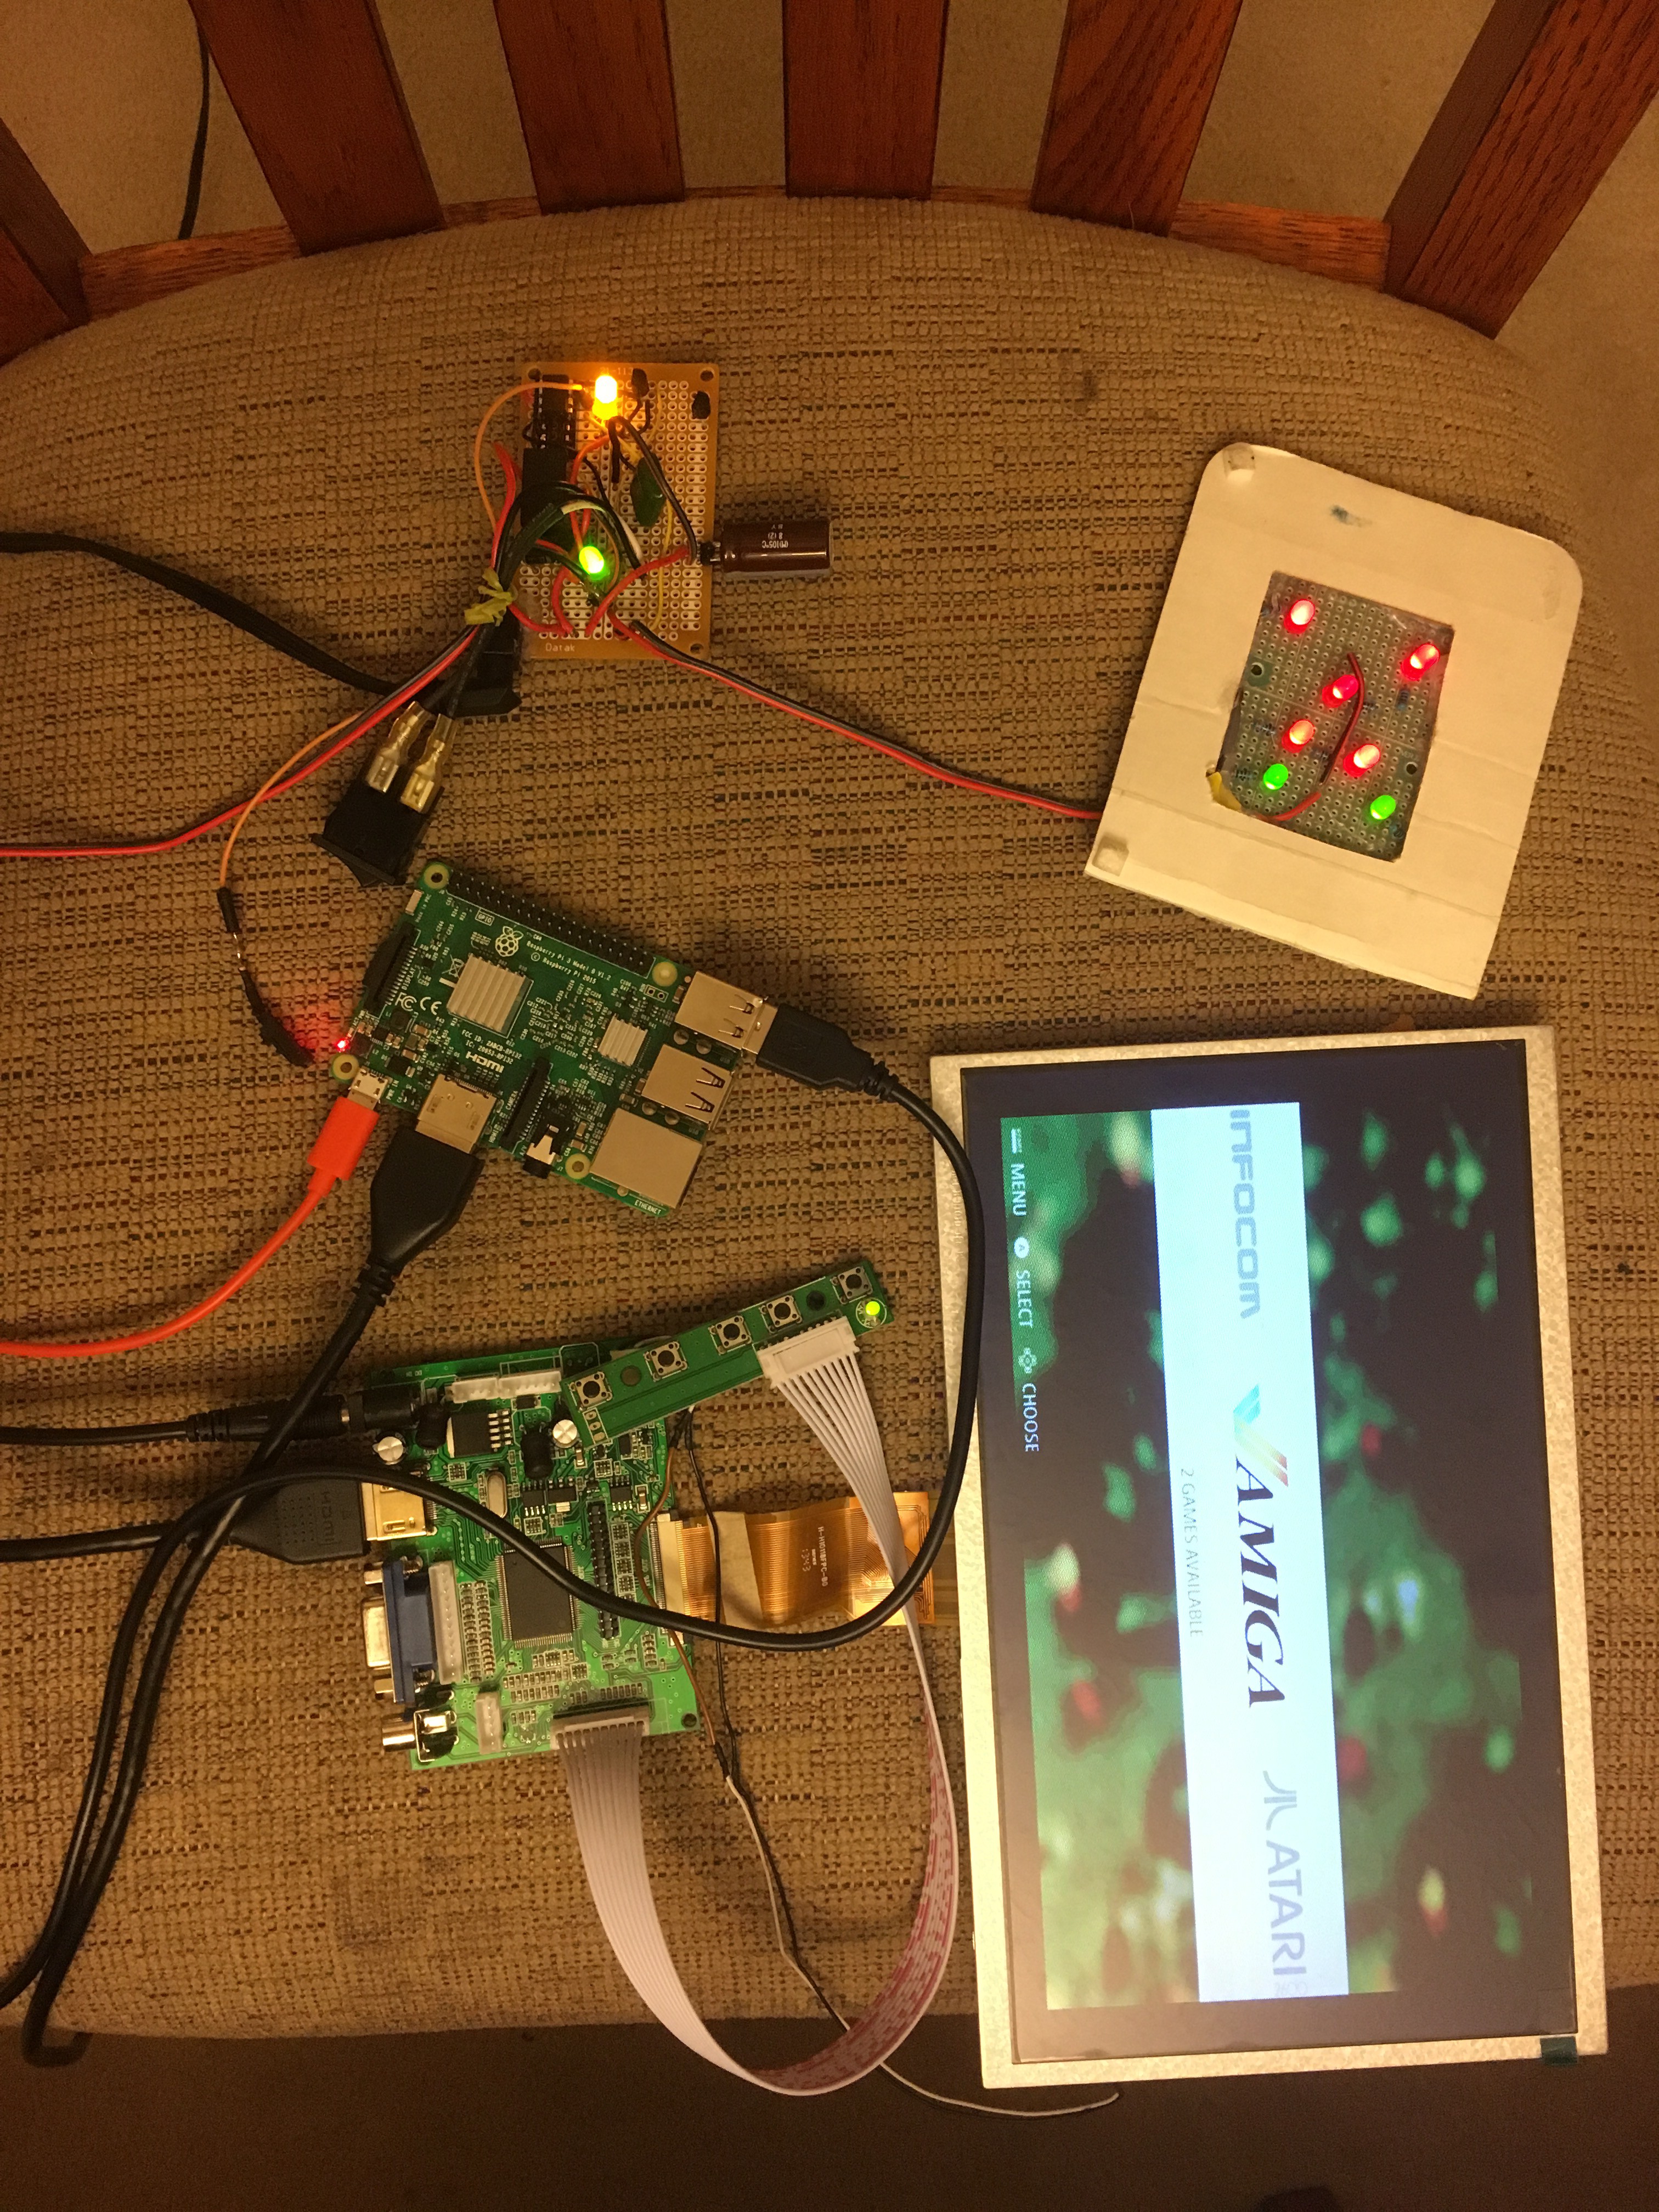
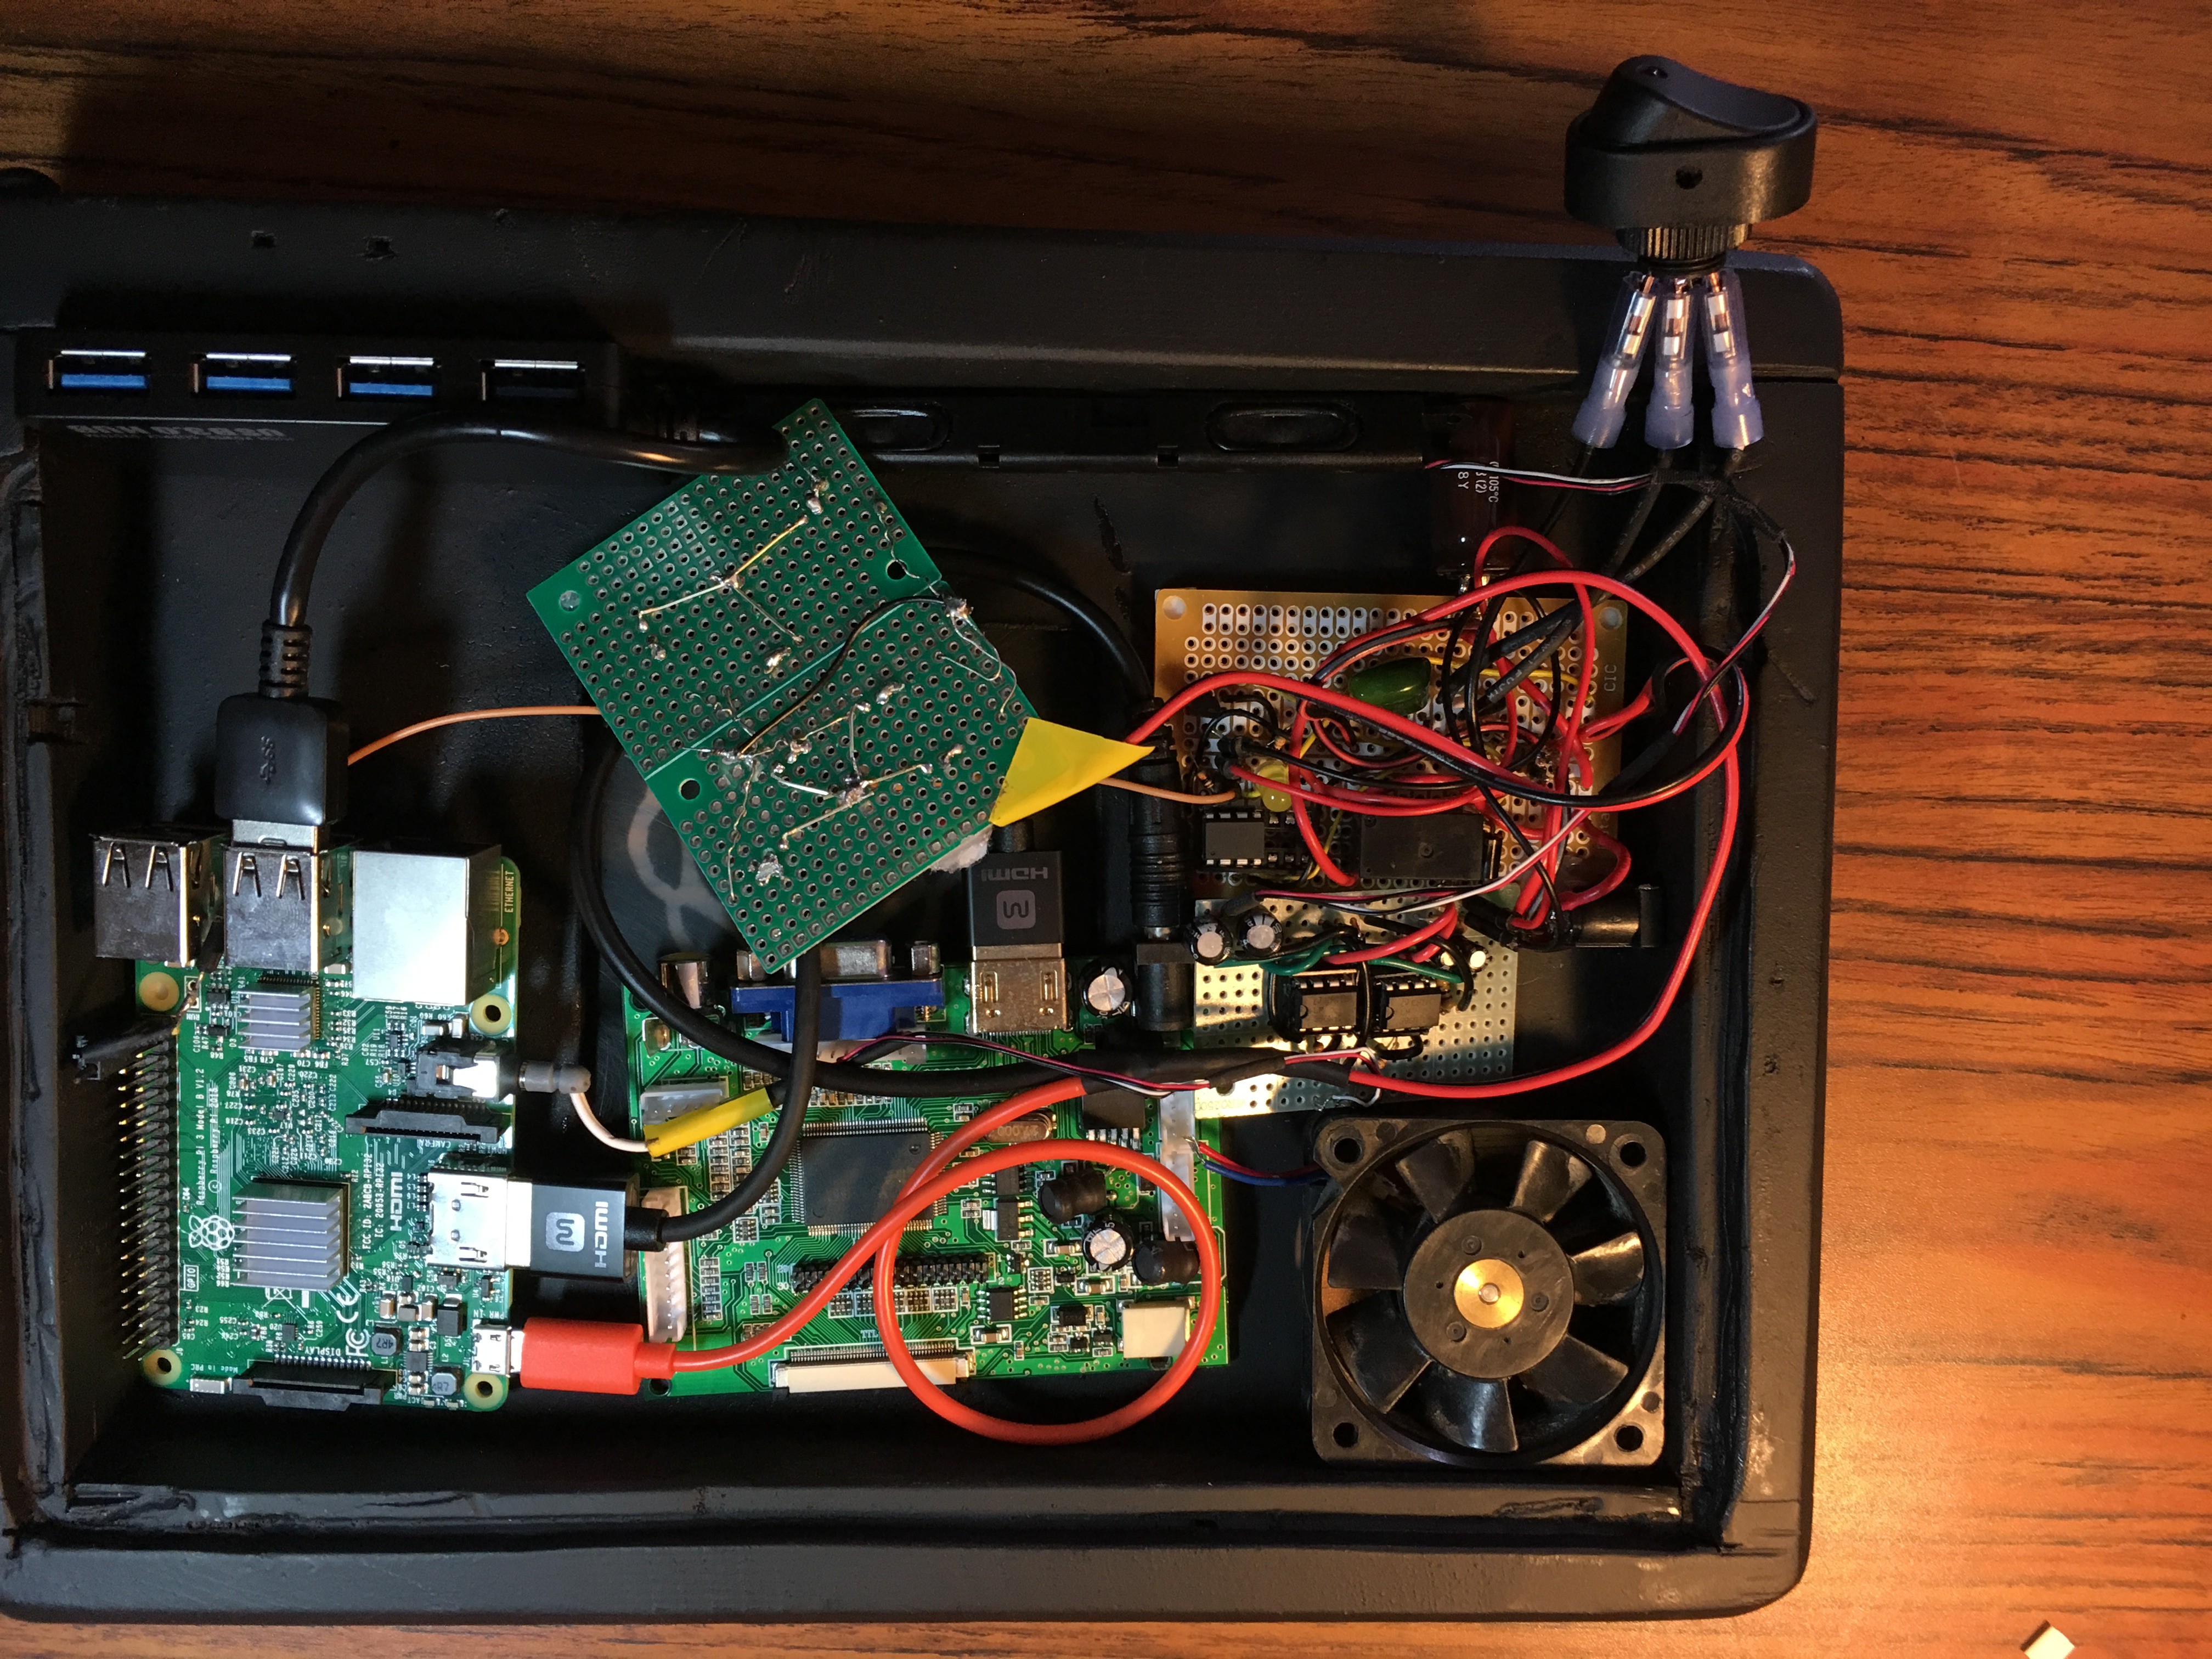
I was able to tie all the components together and have a generally operational setup:
Then I shoved it all into the case, added a kickstand and clasps to secure the screen:
So I started to test the thing, and I realized that there was a colored square in the upper right corner of the screen when running the device. I read that this was a sign of low power. I went and designed another case in Sketchup to see if I could manage some better spacing and heat dissipation:
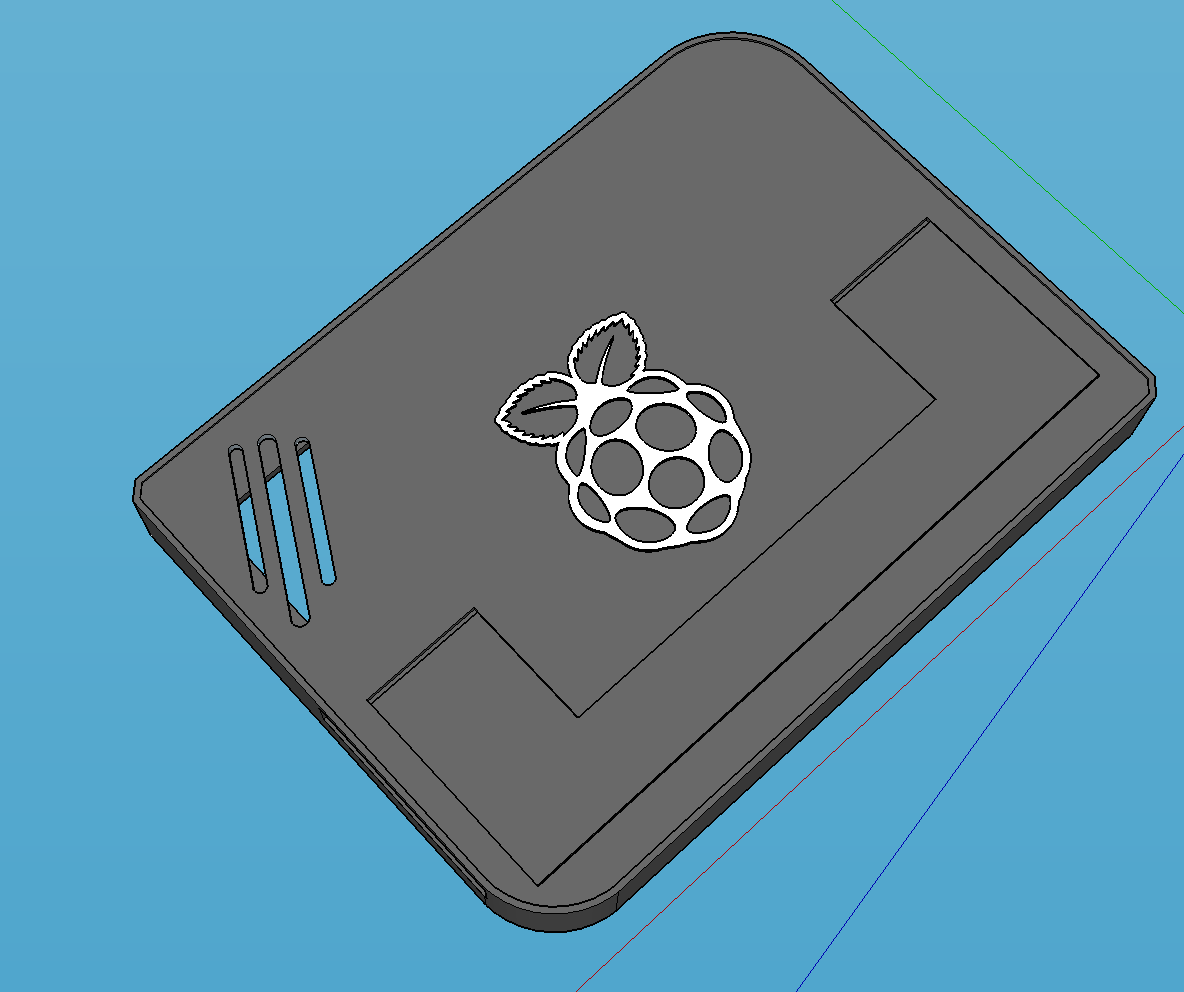
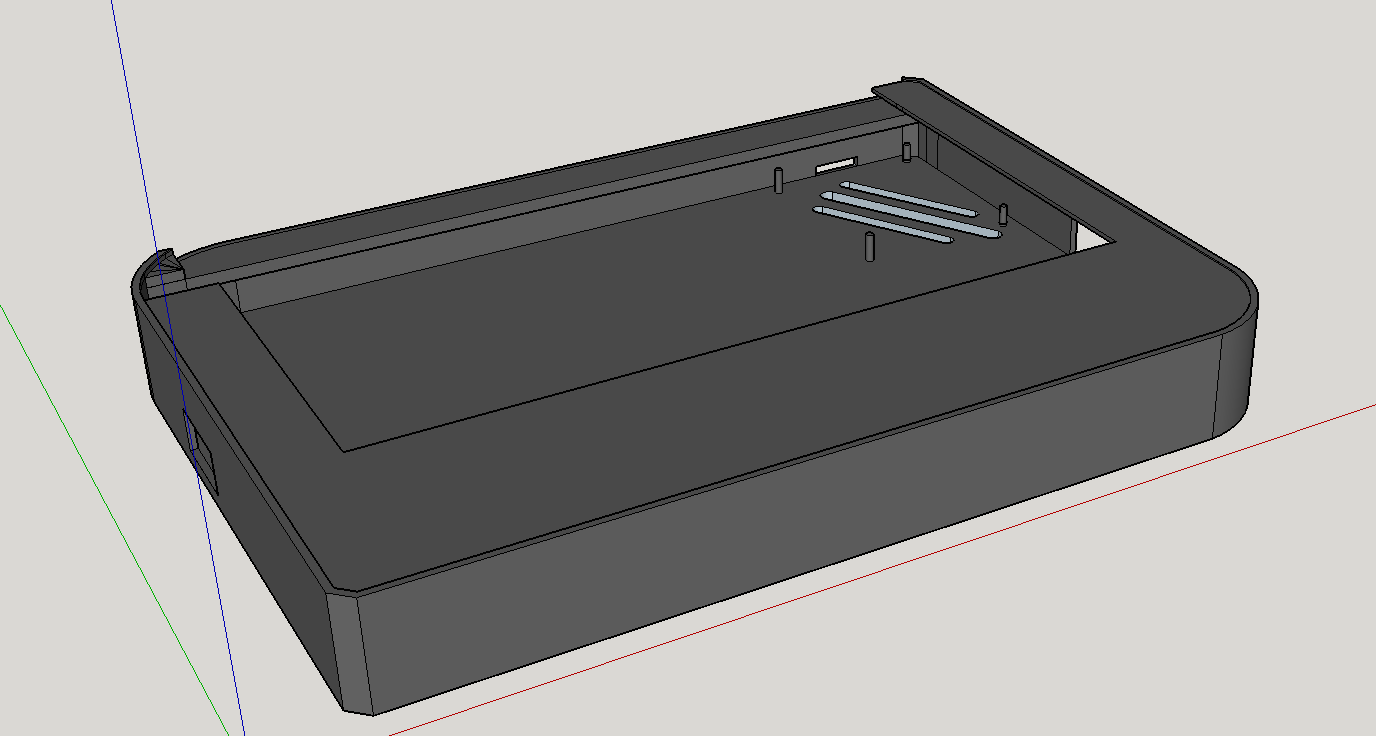
And that was actually pretty fun because I have minimal experience in CAD programs. Didn’t struggle too much with this though because I have hefty experience in Blender3D.
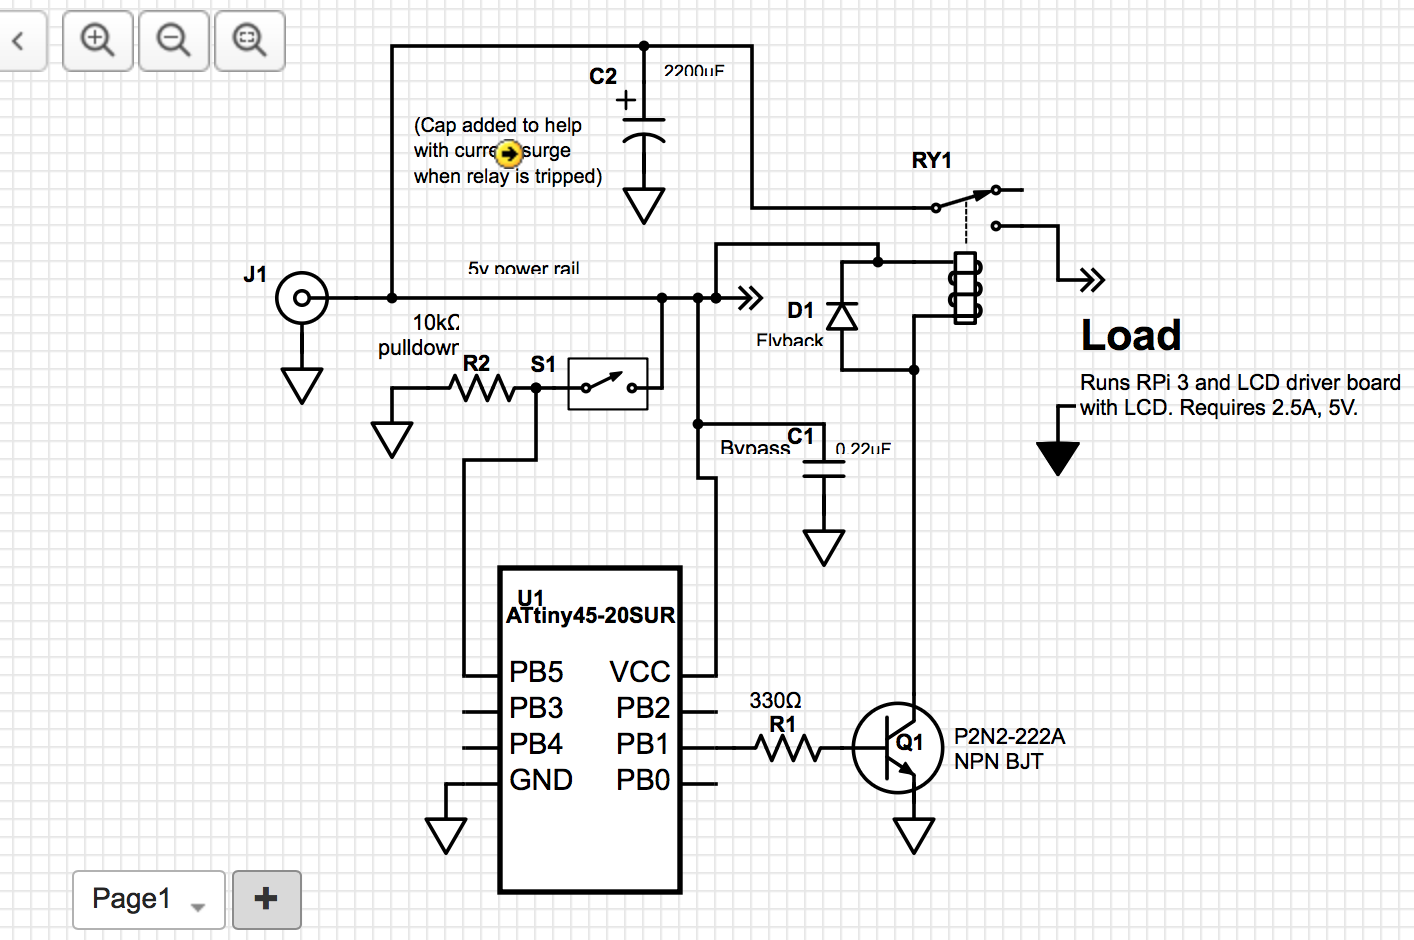
So I redid the power circuit to see if my switching mechanism was weird and struggled alot with the new design. I kept having odd issues, and eventually consulted a forum. We settled on this solution: