So since it’s the end of the semester and all, kids are moving out of the dorms and leaving all of their weird things behind. In one night we found two microwaves, four car batteries, a Keurig, several lamps, and some kind of wifi-connected RGB LED reel with a power unit. Upon closer inspection, the reson they were thrown out is becase the unit didn’t have a control module. The power unit just ended in a barrel jack and the strip had a 4-wire connector. What a better candidate for some hackery?
After splicing the power cable, I still only had two wires- power and ground. After verifying that it was still spitting out 12V with my multimeter, I soldered some header pins onto the ends of the wires and tested the terminals on the LED strip. None of the myriad configurations worked. Then I tried joining all of the misc wires to power, then to ground. That didn’t work either.
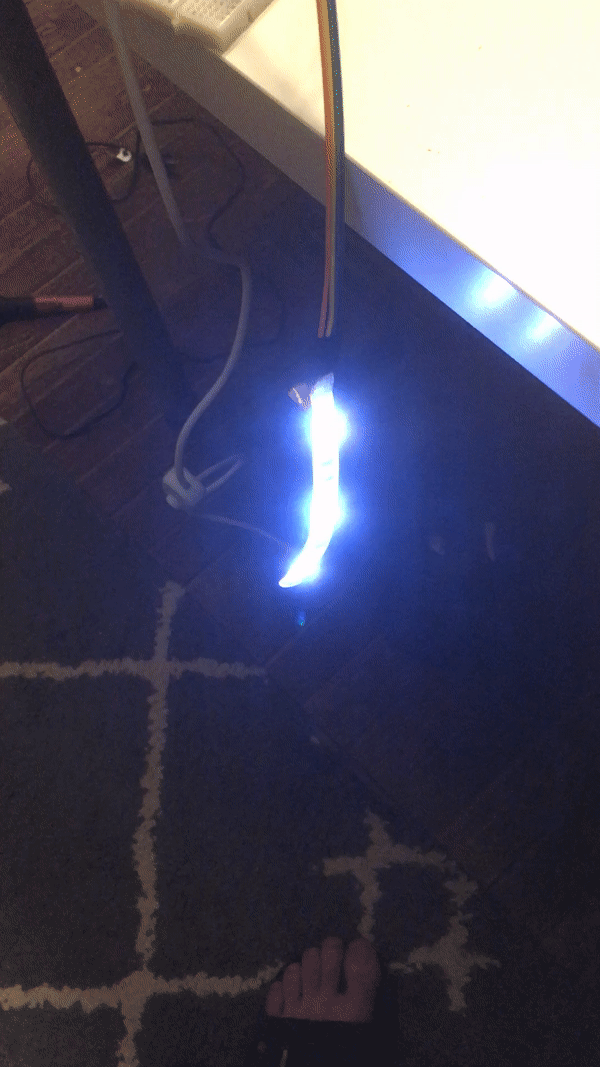
I was about to give up when I decided to pull back the heatshrink tubing covering the LED connection. The pins were labeled! +12v, R, G, B. I hadn’t noticed up until this point that these could’ve been RGB strips.
One high-wattage N-channel MOSFET later, and the thing is up and running. I used the +12V on the Vin terminal of my old arduino and just sent a PWM slow pulse through to the MOSFET, then paired R, G, and B to the drain.
The MOSFET in question is a 2KS2645. It was just a random piece of silicon I had in a junk bin. I think it was from a printer-scanner I tore apart my senior year of high school. The only reason I picked it is because it had a heatsink, and the datasheet showed it could more than handle the strip (50W!)
I’ll probably go and find some more somewhere so that I can control all three channels except for one. I’m moving out right now, but this will be a nice addition to the room I’ll move into come fall.
More updates to come, I’m sure!